Essential Guide to Tap Repair and Replacement

Looking around your home, you start to notice little drips and leaks that you’ve been putting off. It could be the bathroom sink faucet or perhaps your shower tap isn’t quite right anymore. Tap repair and replacement often fall by the wayside for homeowners. It might not seem like a big deal at first, but fixing these little problems can make a big difference aesthetically and in saving precious water. Sometimes, it’s a quick fix, while other times tap repair and replacement involves getting new taps entirely. But how can you know for sure which is the best route?
Let’s explore all things related to tap repair and replacement, providing a comprehensive guide for homeowners. From identifying the common reasons your tap needs some TLC to finding reputable tradespeople and understanding the costs, I’ll make this process feel a bit easier.
Table of Contents:
- Tell-Tale Signs You Need Tap Repair or Replacement
- What Taps Should I Consider for a Replacement?
- The DIY Route Vs Calling A Professional
- How to Find A Trusted Plumber in London
- DIY Tips – Getting You Ready for Basic Tap Repairs
- FAQs About Tap Repair and Replacement
- Conclusion
Tell-Tale Signs You Need Tap Repair or Replacement
If you aren’t sure whether your taps need fixing or swapping out for a new model, these signs point to one or the other. Keep in mind that some plumbing problems are easier to handle on your own, while others are best left to professional plumbers.
1. Dripping Taps
This is probably the most common and obvious sign that your tap needs attention. Even a slow drip can add up over time, not to mention the annoying noise. Usually, a dripping tap is the result of a worn tap washer, O-ring, or a valve seat that needs replacing. If your tap handle or spindle/lever is stiff to operate, it’s not always an indication of needing to completely replace your tap. It could be something as simple as using a quality descaler.
2. Low Water Pressure
If you notice the water flow has dramatically decreased, this could be because of several issues. It might be a buildup of mineral deposits within the tap, especially if you have hard water. Perhaps there’s a problem with the aerator or an issue with your plumbing system. I experienced this last year, and in my case, the decreased pressure was from a leak within my pipes. Finding the culprit wasn’t exactly fun. But, I’ll tell you one thing, calling in a plumber quickly made a difference.
3. Leaking From The Base
When you see water pooling around the base of your tap, that’s a clear sign of trouble. It usually indicates a problem with the O-rings or seals, allowing water to escape from the tap. Getting this looked at sooner rather than later can save you from costly repairs in the long run, just like I experienced. This is especially true if nasty mould starts to appear, which can pose health risks.
4. Visible Corrosion Or Damage
Inspect your tap for any signs of corrosion, rust, cracks, or broken parts. These issues are not just unsightly; they could potentially affect the functionality of your taps, too. Over time, these seemingly small problems will get worse, and sometimes it’s tricky to find the right replacement parts for older taps. Sometimes, it’s worth investing in a new tap rather than pouring more money into fixing one that’s seen better days.
What Taps Should I Consider for a Replacement?
If you’ve decided to replace your taps, then congratulations. It can feel like an overwhelming decision with so many styles, finishes, and functions on the market these days. Here’s a breakdown to make the process easier.
Types of Taps:
- Pillar Taps: The most common type in the UK, featuring two separate taps for hot and cold water.
- Mixer Taps: Combining hot and cold water into one spout, you’ll find this style in most modern kitchens and bathrooms.
- Monobloc Taps: This is a single unit with one lever or handle for adjusting temperature and flow.
- Wall-Mounted Taps: Adding a contemporary and space-saving touch as they’re fixed directly onto the wall above the sink. However, these are usually more complicated to install and to fix if problems come up.
Things To Think About
Deciding what features and functions work for your home, budget, and lifestyle will help to narrow your search for new taps. Consider whether a single-lever mixer tap would be best in your bathroom for easier use. In your kitchen, perhaps you need a pull-out spray tap or a boiling water tap.
Think about the finish that would work best in your home – brushed nickel, chrome, or matte black are just a few options. Don’t forget to take the existing plumbing and the size of your basin or sink into account when selecting your new tap. These will determine which styles will work. Choosing the best taps might not feel like rocket science, but a bit of consideration makes the process more enjoyable.
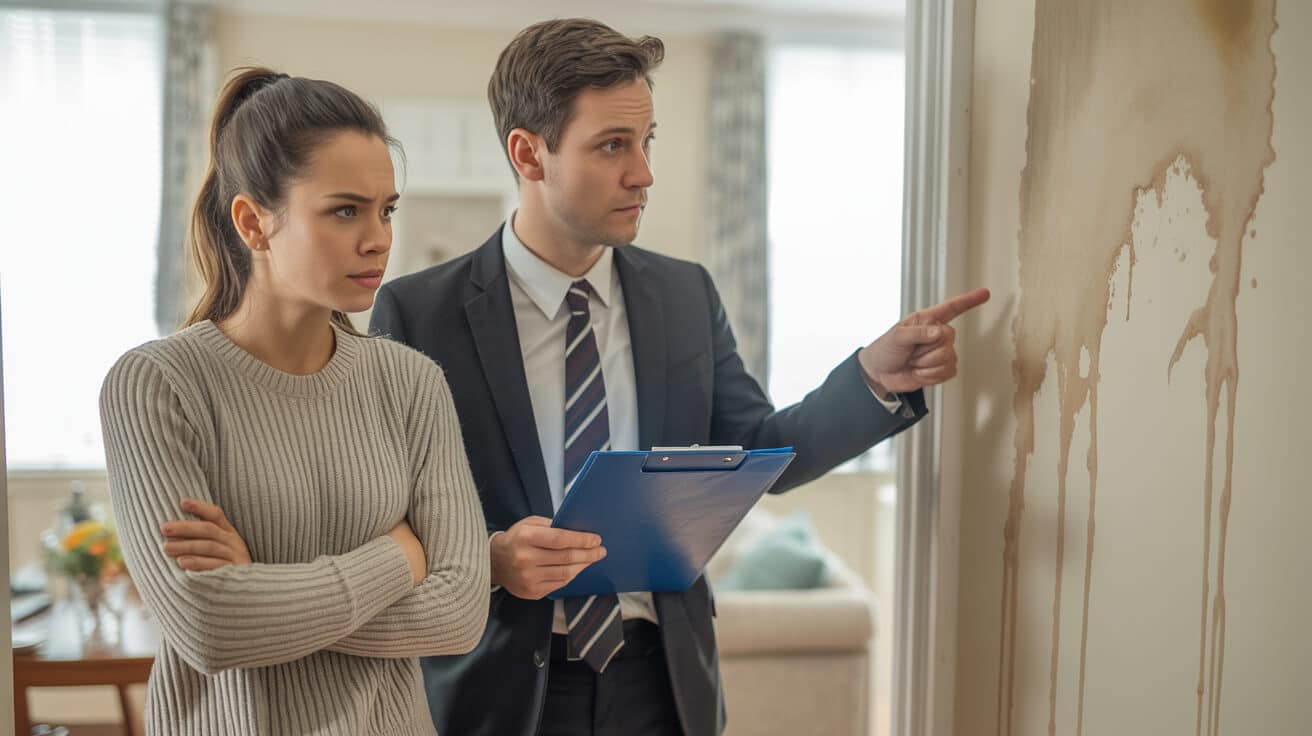
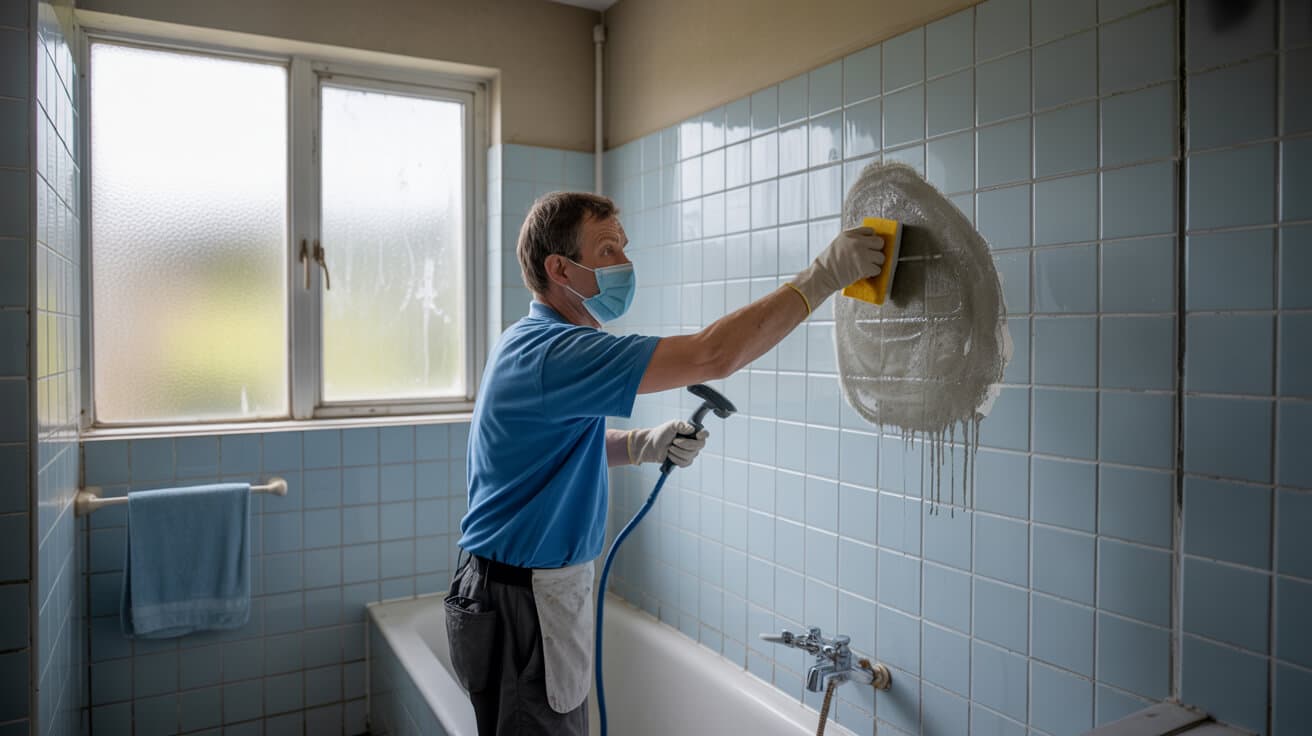
The DIY Route Vs Calling A Professional
Now, onto one of the most commonly debated parts of tap repair and replacement – should you tackle this project on your own or get some professional help? If you are a confident DIY enthusiast and the repair seems minor, like a worn-out washer, you can certainly give it a go. But, before diving in, remember plumbing can be more complicated than it looks. There’s a whole lot more involved than what you might see on the surface.
Replacing bathroom taps or kitchen taps can turn into a messy, stressful ordeal if you aren’t sure of the right steps. For example, if your kitchen mixer tap is faulty, it might be best to call in a professional. The same is true for mixer taps in the bathroom.
Knowing Your Limits
This is where it’s vital to understand your capabilities. Take it from me – it’s OK to admit when a job is beyond your expertise. Complicated repairs involving plumbing pipework or unusual tap types are probably best left to professionals who do this sort of thing all the time.
Weighing Your Options
| DIY Approach | Professional Approach |
|---|---|
| Save on Labour Costs | Guarantees The Job is Done Right |
| Gain DIY Experience | Saves Time and Hassle |
| Risk of Further Damage or Incorrect Installation | Peace of Mind & Usually Offers a Warranty |
Weighing the advantages and drawbacks of both DIY and getting help from a professional will make your experience less stressful.
How to Find A Trusted Plumber in London
Whether you’ve determined that calling a plumber is your best option or you have no choice for a trickier job, finding someone trustworthy can seem daunting. You want to find a tradesperson with expertise, reliability, and fair prices. You’ll want to make sure they have years of experience, especially if you have a unique bathroom tap situation.
Platforms like Checkatrade and Trustpilot have taken some of the guesswork out of finding reputable plumbing companies. They list local tradespeople alongside ratings from previous clients, offering transparency and peace of mind when choosing who to contact. Don’t forget to ask your family, friends, and neighbors if they can recommend someone they trust. A personal referral based on firsthand experience can often provide valuable insights that online platforms may not have.
Once you’ve gathered a few names, gather quotes from each company so you can compare prices and services. And just like a job interview, remember to ask the company about their experience and expertise with tap repairs and replacement. Make sure to clarify their hourly rate so you are not surprised later.
DIY Tips – Getting You Ready for Basic Tap Repairs
Before beginning any DIY plumbing tasks, shut off your water supply. You’ll find an isolation valve near the tap itself, but if not, turn off the water supply to your home using the stopcock valve. This might be under the kitchen sink, in your utility room, or even in your garage. Before you start unscrewing and dismantling, take a picture of the assembly to use as a visual guide during reassembly. It’s amazing how quickly things get muddled.
It’s wise to have these supplies on hand, whether it’s a simple washer replacement or a full tap repair and replacement. This way, you can avoid going to the store in the middle of the job:
- Adjustable Wrench
- Screwdrivers (Philips head & Flathead)
- Plumber’s Tape
- Basin Wrench (if dealing with awkward angles)
- Replacement Parts (washers, O-rings, etc)
- Old Towels
As you work, cover your sink to protect it from any falling tools or parts. The most common problems with taps can usually be fixed by changing the washer or O-rings. But, if your taps are leaking from multiple areas or if there’s extensive damage, then it’s best to just bite the bullet and replace it.
FAQs About Tap Repair and Replacement
How much does it cost to have a plumber change a tap?
Plumbing charges can vary depending on location, complexity, the type of tap and whether additional work needs to be done. For example, the cost to replace kitchen taps will be different than the cost to replace bath taps. Basic tap replacement can range from around £91 + VAT. It’s worth requesting quotes from a few local plumbers to get an idea of the cost in your area.
Can a handyman install a new tap?
While some handymen might be able to replace a tap, it’s best to seek out someone specifically qualified and experienced with plumbing. They’ll have the right knowledge, professional tools, and expertise to avoid any issues, and their work may come with a warranty, unlike work completed by a handyman.
Do plumbers fix leaky taps?
Leaky taps are one of the most common problems that plumbers fix, from worn washers to damaged cartridges. They’ll assess the problem and either replace the broken parts or suggest getting a new tap. If you need taps replaced, a plumber can usually handle that as part of the work schedule as well.
Can I replace my tap myself?
Replacing taps is definitely something that a DIY enthusiast can do as long as you’re confident working with plumbing and you carefully follow the steps involved. Sometimes, you can find videos online for things like “how to replace bath taps” or “how to replace a kitchen tap”.
When it comes to more complex tap repairs and replacements that involve a complete swap of fixtures, it’s advisable to speak with an expert. You’ll want someone familiar with frequently asked questions in order to do the job safely and properly. You’ll save yourself time, stress, and potential headaches by having someone qualified complete the job right the first time.
Conclusion
Whether it’s the annoying drip that just won’t go away, a shower head that’s only providing a trickle, or an old, damaged faucet, it’s smart to stay on top of your home’s plumbing maintenance. Knowing when it’s a good time to tackle tap repair and replacement on your own versus calling in reinforcements ensures things go as smoothly as possible.
Remember, research is your friend and planning is key when embarking on any tap repair and replacement. Before undertaking a big job, write out a list of frequently asked questions to ask the plumber. It’ll get you ready for smooth sailing in the world of faucets.