How to Clean a Showerhead: Quick Tips for Sparkling Results
Let’s face it, a clean shower head isn’t just about aesthetics; it’s crucial for your health and the quality of your showers. Over time, limescale and bacteria can throw a spanner in the works. How to Clean a Showerhead is more than just routine maintenance—it’s about reclaiming that pristine spray and safeguarding against germs.
We’re peeling back the curtain on mineral deposits that could be mucking up your water flow and sharing tips to get things flowing smoothly again. By reading further, you’ll discover DIY cleaning solutions using household staples like vinegar to make short work of stubborn buildup. It’s not rocket science but give these methods a whirl, and you’ll notice an immediate difference in how your bathroom sanctuary performs.
The Importance of Regular Shower Head Cleaning
It’s about more than just shine.
A clean shower head is a beacon of health in your bathroom.
Bacteria love warm, steamy environments.
Preventing Bacteria in Your Bathroom Sanctuary
Your shower head could be harbouring bacteria right now. Limescale and soap scum offer them a cosy home. They multiply fast without regular cleaning. Think petri dish on your ceiling. Not the relaxing vibe you’re after.
Signs Your Shower Head Needs Attention
Water Flow Woes and What They Mean
Squirts going sideways? It’s shouting for help.
- If it whistles, it’s past polite requests to be cleaned out—do something about it today.
- Rocks in your rainfall? Hard water deposits are to blame here—a clear sign things need scrubbing.
- No blockage should impact the zen that is your daily rinse—time to take action.
Signs Your Shower Head Needs Attention
It’s not just about a morning wake-up call. Your shower can hint at deeper issues.
Water Flow Woes and What They Mean
A trickle where there once was a torrent? That’s your first clue.
Spray gone rogue, shooting sideways rather than down? Time to take action.
You might notice these signs but brush them off as mere annoyances. But think again. These little quirks are often the tell-tale symptoms that it’s time for a thorough cleaning of your shower head. Reduced water flow is no small matter; it suggests limescale or mineral build-up inside those tiny holes where the water comes out.
If you’re dealing with hard water, then expect more frequent calls to clean up your act—or in this case, your shower head. It’s all too common for minerals like calcium and magnesium to leave their mark in bathrooms everywhere, particularly on fixtures like shower heads.
Likewise, if you’ve got warm water coursing through day after day (who doesn’t love a steamy environment?), beware. This creates an ideal breeding ground for bacteria growth right within those same nozzles meant to keep you squeaky clean. When left unchecked, what starts as reduced flow could become blocked nozzles faster than you’d think—and yes—that impacts water flow and overall shower quality significantly.
Misdirected streams aren’t just an inconvenience; they’re loud whispers urging “Look closer.” And when one stream becomes many misaligned ones spraying every which way but down? Well, let’s say that should ring alarm bells louder than any snooze button ever could.
Step-by-Step Guide to Cleaning Your Shower Head
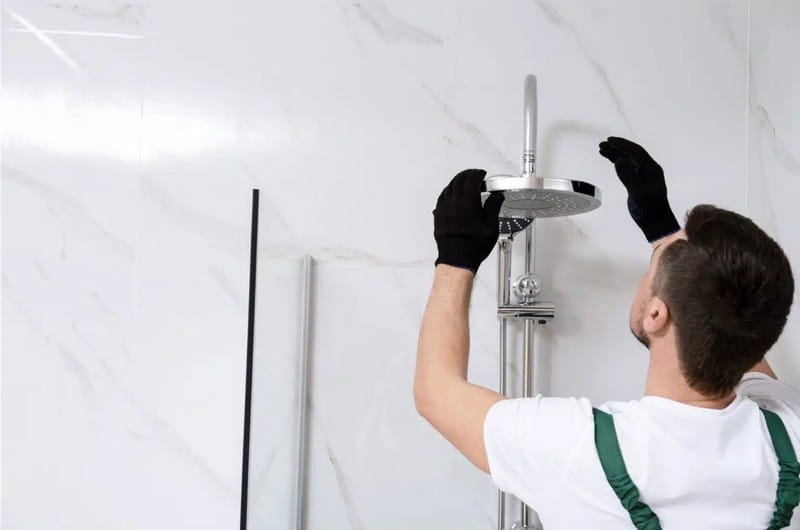
Disassembling Your Shower Head Properly
Tight grip? Not too tight. You’ll want to remove your shower head without turning the bathroom into a plumber’s yard sale.
Gently twist off that fixed shower head. Mind those retaining washers; they’re small but mighty important for preventing leaks later on.
If it feels stuck, wrap an old rag around it and use pliers. This will help you get a better grip without leaving any marks.
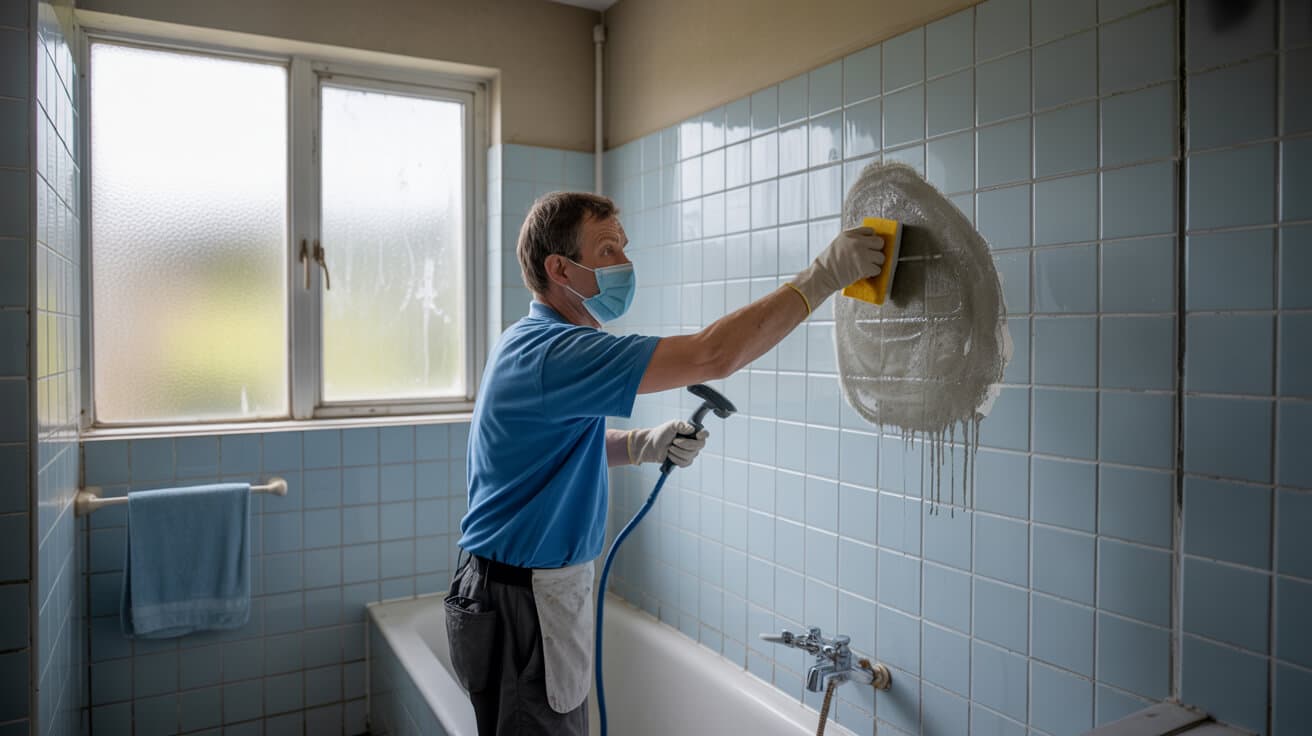
Scrubbing Away Mineral Deposits and Debris
Limescale build-up—more stubborn than a mule on Monday morning. But fear not, vinegar is here to save the day.
Create a cleaning paste with equal parts water and baking soda. Apply this onto the nozzles then scrub away like there’s no tomorrow using an old toothbrush or something similar.
A paper clip can be your best friend when tackling clogged holes in nickel-coated shower heads – just poke gently.
Rinsing Techniques for Mold and Deposit Removal
All scrubbed up? Time to rinse under warm water. Loosened mineral deposits should now bid farewell as easily as guests after midnight.
Shake hands with clean running water till every bit of debris waves goodbye from those freshly unclogged pathways of your once-blocked nozzles.
Mold had its time, but it’s over now—a final thorough rinse ensures we won’t see each other again anytime soon.
Vinegar Soak for Dissolving Limescale Build-up
There’s more than one way to cook an egg. And more than one way to soak your showerhead. Vinegar—not just for chips. Fill a plastic food storage bag half full with distilled white vinegar. Place said bag over the head, making sure all areas are submerged. Seal the deal with a rubber band. Heavy-duty plastic might feel like overkill until you realise limescale doesn’t play fair. Leave overnight if possible because good things come to those who wait. Instead of counting sheep tonight, count bubbles escaping from beneath. Their pop is music announcing their departure.
D.I.Y. Cleaning Solutions for Your Shower Head
Who knew kitchen cupboards held such treasure troves? Baking soda plus lemon juice equals fizztastic action against grime. Lemon juice brings some citric acid power into our mix. Soap scum surrenders at first whiff. Spread this fizzy wonder on tougher spots, and watch as it clings to surfaces, working its magic and leaving your kitchen spotless.
DIY Cleaning Solutions for Your Shower Head
Got a grubby shower head? Don’t fret.
Limescale’s the villain here, but it’s no match for your kitchen cupboard heroes.
Vinegar Soak for Dissolving Limescale Build-up
A trusty bottle of white vinegar is all you need to start.
Mix equal parts water and distilled white vinegar in a bowl. Simple as that.
Pour this mix into a heavy-duty plastic food storage bag. Make sure it’s sturdy.
Next, submerge your shower head in the liquid-filled bag. Use a rubber band to keep it snug and secure against the fixture if you’ve got a fixed shower head; otherwise, just remove and dunk it entirely.
Leave overnight or at least for an hour if time’s ticking away. Patience pays off here—vinegar works its magic slowly but surely breaking up those pesky mineral deposits so they’ll be easier to scrub away later on with less elbow grease required from your side.
Baking Soda Paste Scrub Down
If limescale still clings on stubbornly after soaking? Time for baking soda paste reinforcements. Mix three parts baking soda with one part water until you get that perfect pasty consistency—not too runny nor dry—and apply directly onto tougher spots using an old toothbrush or microfiber cloth then give them some good ol’ fashioned scrubbing action before rinsing thoroughly under warm tap water which should help dislodge any remaining mold too thanks largely due diligence during earlier rinsing efforts post-scrub session ensuring nothing nasty sticks around afterwards either way.
This isn’t just about shine—it’s about hygiene. Showers can harbour bacteria thriving off mineral buildup within moist steamy environments like bathrooms where such organisms multiply rapidly without regular cleaning interventions thus making weekly maintenance routines not only advisable but downright necessary especially considering Blocked nozzles could significantly impact overall quality experiences every single day leading potentially even health issues down line…
Sometimes holes might clog despite everything else seeming spotless; grab something small like pin paper clip straighten out poke through each nozzle gently clear out anything caught inside ensuring unblocked paths once again future sprays while keeping mind nickel-coated types may require different approaches avoid damaging surfaces check manufacturer guidelines beforehand when unsure proceed cautiously respect materials involved process remains successful throughout duration task hand always better safe than sorry after all right?
In conclusion: tackling hard-water buildups soap scum doesn’t have mean reaching harshest chemicals available shelves sometimes best solutions lie waiting discover within very own homes already… who knew?
Conclusion
Cleaning your shower head can prevent bacteria and improve water flow. Remember, a quick soak in vinegar works wonders on limescale. And don’t forget, scrubbing away deposits keeps the nozzles clear.
Regular maintenance ensures optimal performance. So make sure you rinse thoroughly to wash away any lingering residue.
Tackling those mineral buildups is key for a pristine spray every time. How to Clean a Showerhead isn’t just about sparkle; it’s health and functionality wrapped into one simple task.
So go ahead, reclaim that bathroom sanctuary with these easy steps – because nothing beats the feeling of a clean, refreshing shower!